
Witnessing the Aurora Borealis should be at the top of every photographer’s bucket list. This guide details the most important considerations for capturing images of the Northern lights. To be successful, you’ll need to be in the right place at the right time, equipped with the right camera and a decent amount of luck on your side.
Location and Timing
The intensity of the Northern Lights is dependent on solar activity. As solar winds come crashing into Earth’s magnetosphere, charged particles dissipate in the sky, creating the nighttime spectacle known as Aurora Borealis. Typically, this phenomenon can only be observed at high latitude regions (North and South Poles). To see the Northern Lights requires dark skies, which means that they are only visible between September through March. Below is a live 30-minute forecast for the Northern Lights, based on magnetic readings from NOAA (National Oceanic and Atmospheric Administration).

Unfortunately, it is not always simple to see the Northern lights, even if you are in the right place at the right time and have limited light pollution. You may often be at the mercy of Mother Nature. The sky must be free of overcast since the Aurora Borealis phenomenon happens high in the atmosphere and any clouds would block the view. Thankfully, the skies were mostly clear when I stopped in Norway during my recent backpacking trip through Europe. In September, I visited the island city, Tromsø, Norway, to catch a glimpse of the phenomenon. My first day in the Arctic Circle, after sunset, I gathered with a group of Northern Lights chasers to climb to the summit of Mount Fløya, which is 642 meters (2100 feet) above sea level. Everything came together for a perfect photo opportunity, and I must say, pictures don’t do it justice!
Camera Setup and Exposure Settings
As with all astral photography, sturdy camera support and correct exposure settings are vital for capturing good images of the Northern Lights. My setup consisted of a GorrillaPod, and a Panasonic GH3 with a f/3.5 lens. While you can get sharper, less noisy images with a higher quality lens, my f/3.5 kit lens was sufficient. You’ll want a wide angle to capture as much of the landscape as possible. I was shooting at 14mm. You’ll also want to focus at infinity because the Northern Lights occur at 80 km (50 mi) in the atmosphere. To reduce vibrations, I recommend using a timed shutter or a remote capture device. My camera had a built-in time-lapse function, which is especially handy for capturing the motion of the Northern lights dancing across the sky. Exposure time should be anywhere from 2-15 seconds. Anything longer than 15 seconds will cause blurry images because the Northern Lights tend to move a little faster than clouds.
Results
-
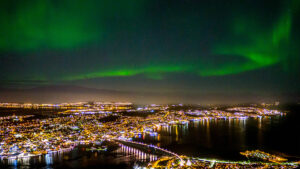
- Overlooking Tromsø, Norway and the Arctic Cathedral

-

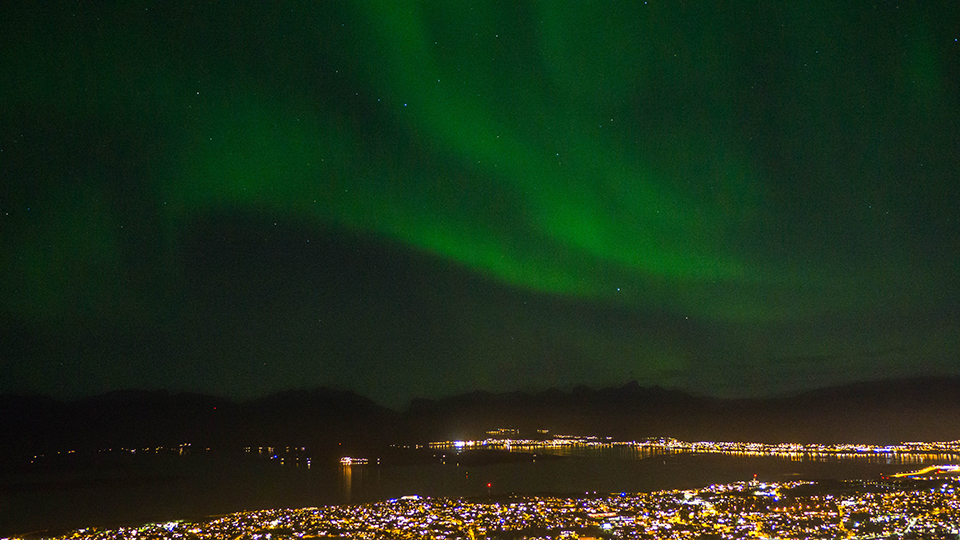
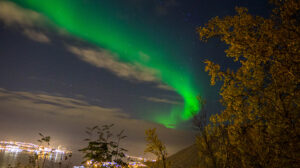
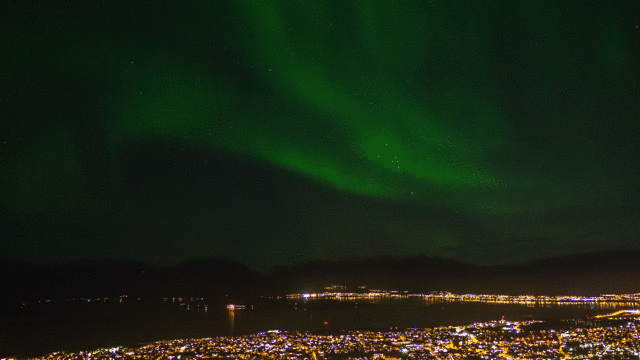
- Overlooking the Southern tip of Tromsø, Norway
-
- Northern Lights infront of the Big Dipper

-
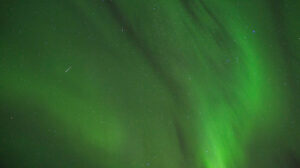
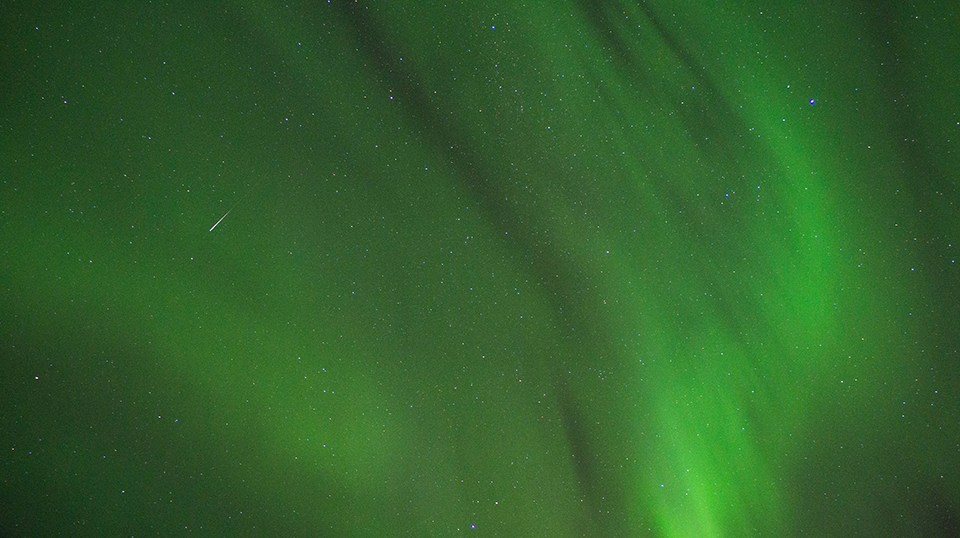
- Northern Lights with a shooting star
-
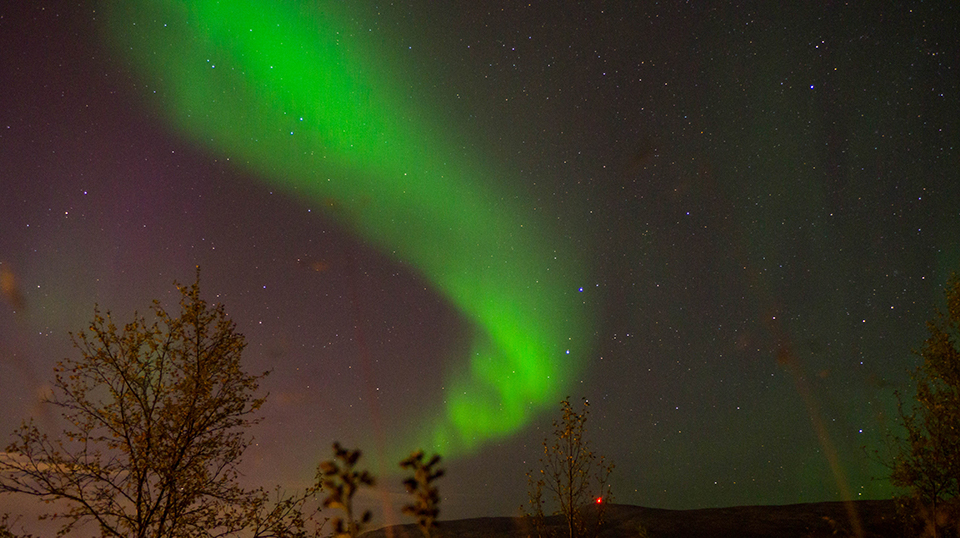
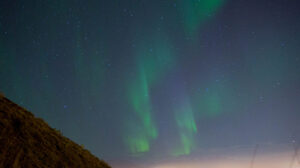
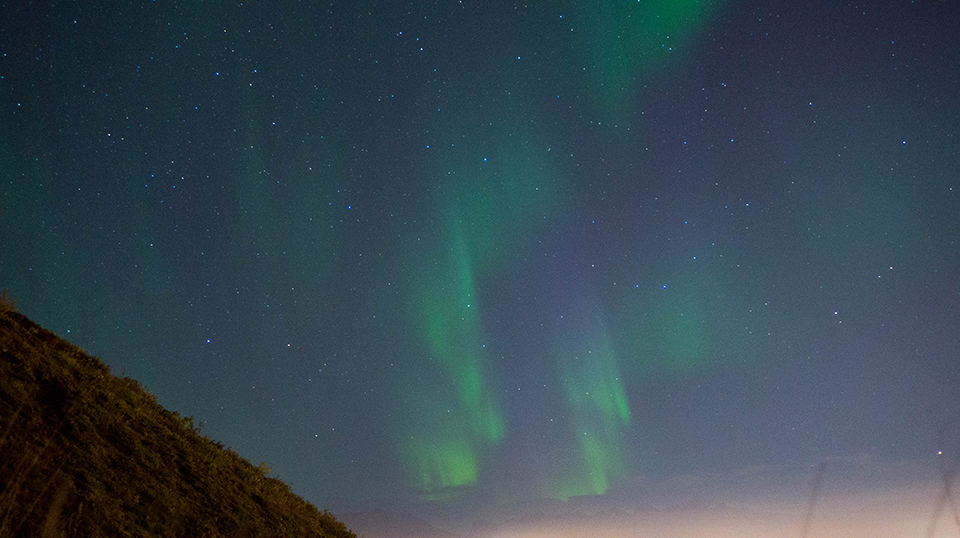
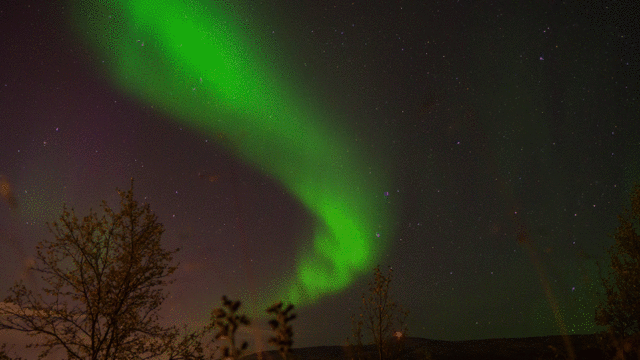
- Northern Lights Snaking
-
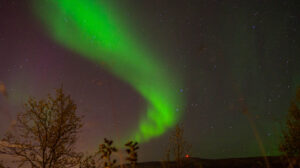
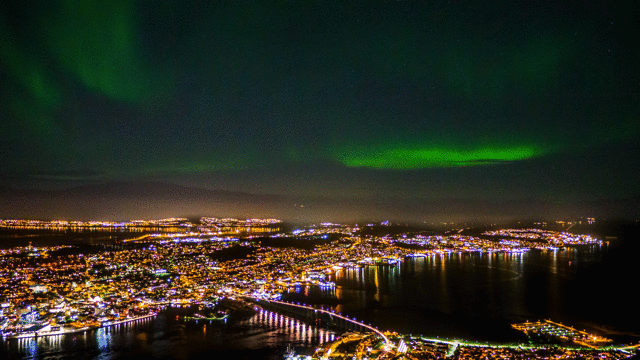
- Overlooking the Northern tip of Tromsø, Norway

-
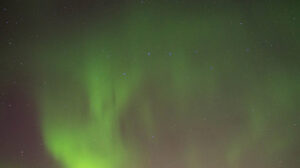
- Faint Northern Lights
-
- Northern Lights Portrait
-

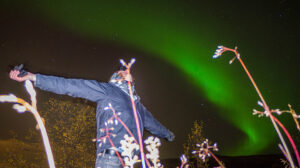
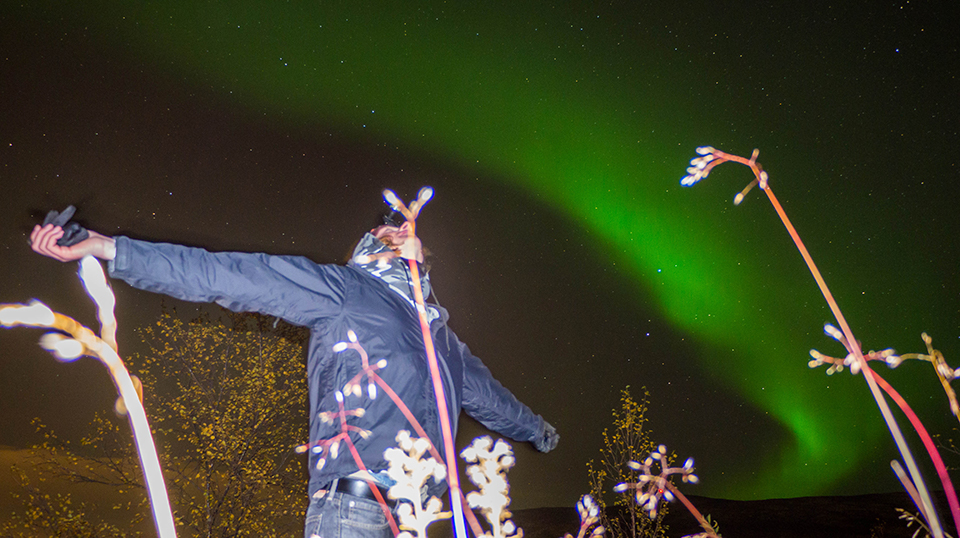
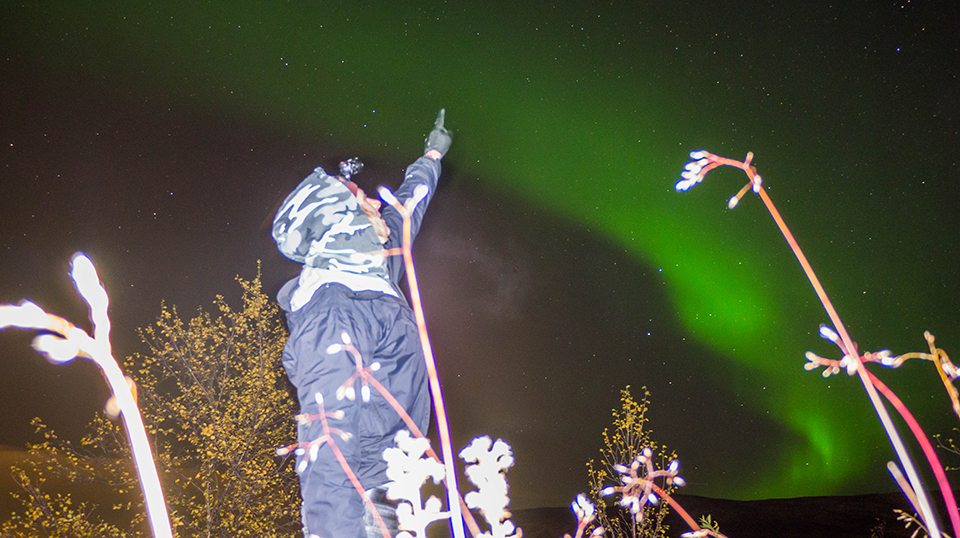
- Northern Lights Portrait Pointing
Below are the time lapses I captured at the summit of Mount Fløya on September 17th, from the hours of 11pm-2am.

Good luck, and happy searching!
Sources:
https://www.swpc.noaa.gov/products/aurora-30-minute-forecast
https://en.wikipedia.org/wiki/Aurora
https://www.visitnorway.com/things-to-do/nature-attractions/northern-lights/