Stray light (flare) documentation pages
Introduction: Intro to stray light testing and normalized stray light | Outputs from Imatest stray light analysis | History
Background: Examples of stray light | Root Causes | Test overview | Test factors | Test Considerations | Glossary
Calculations: Metric image | Normalization methods | Light source mask methods | Summary Metrics | Analysis Channels | Saturation
Instructions: High-level Imatest analysis instructions (Master and IT) | Computing normalized stray light with Imatest | Motorized Gimbal instructions
Settings: Settings list and INI keys/values | Standards and Recommendations | Configuration file input
Page Contents
This page provides high-level instructions for analyzing images of a stray light source in Imatest.
- Procedure for Batch/Auto analysis with Imatest Master
- Procedure for Batch/Auto analysis with Imatest IT
Advanced instructions for computing normalized stray light with Imatest can be found here.
Procedure for Batch/Auto analysis with Imatest Master
-
Starting with the “Select Images” step of the Workflow, select the image(s) to analyze for stray light
-
To import the images, click “SELECT IMAGES” to hand-select a series of image files, or click “SELECT FOLDERS” to select a directory of images. Alternatively, select a config file as input or a directory containing a config file.
-
See the Stray Light Configuration File page for information on the config file, including the required JSON schema and formatting.
- Note: Within a single Imatest run, all images under test must be of the same size (array size and number of channels).
-
Note: Users cannot select a mix of image files and config files as input within a single Imatest stray light analysis run.
- Note: If using a config file as input, certain meta information defined within will be associated with each of the images to analyze (e.g., angle of the light source with respect to the camera), enabling better labeling of outputs.
-
-
- Click “Next” to move on to the “Select Analysis” step of the Workflow and select the Stray Light analysis module (Analysis options > Stray Light / Flare > Stray Light Source)

Starting in version 22.2, users of Imatest Master can find Stray Light analysis under the “Stray Light / Flare” section of the analysis options screen
-
Configure the Stray Light analysis settings by clicking the gear icon.
-
See the Stray Light Settings page for a list and description of each setting
-
See the Stray Light Calculations page for more information on the calculation methods and settings
-
See the Stray Light Normalization page for more information on normalization methods and settings
-
See the Stray Light Source Masking page for more information on mask methods and settings
-
-
Click “ANALYZE” to run the analysis
-
Wait while Imatest calculates results and generates output figures/files
-
-
Examine the resulting figures and output files
-
See the Stray Light Outputs page for information on the various outputs
-

Procedure for Batch/Auto analysis with Imatest IT
-
Install and setup the Imatest IT library for a compatible programming language
-
Configure the Stray Light analysis settings using Imatest Master to save the settings to an Imatest INI file.
-
Alternatively, users can manually configure an Imatest INI file by hand or programmatically
-
See the Stray Light Settings page for a list of valid INI key-value pairs for each setting
-
- Import and initialize the Imatest IT library within your own custom program
-
Using the Imatest IT library, call stray light analysis on the images you want to test for stray light
-
Stray light analysis in Imatest IT requires an Imatest INI file and stray light config file (or StrayLightConfig object) as input
-
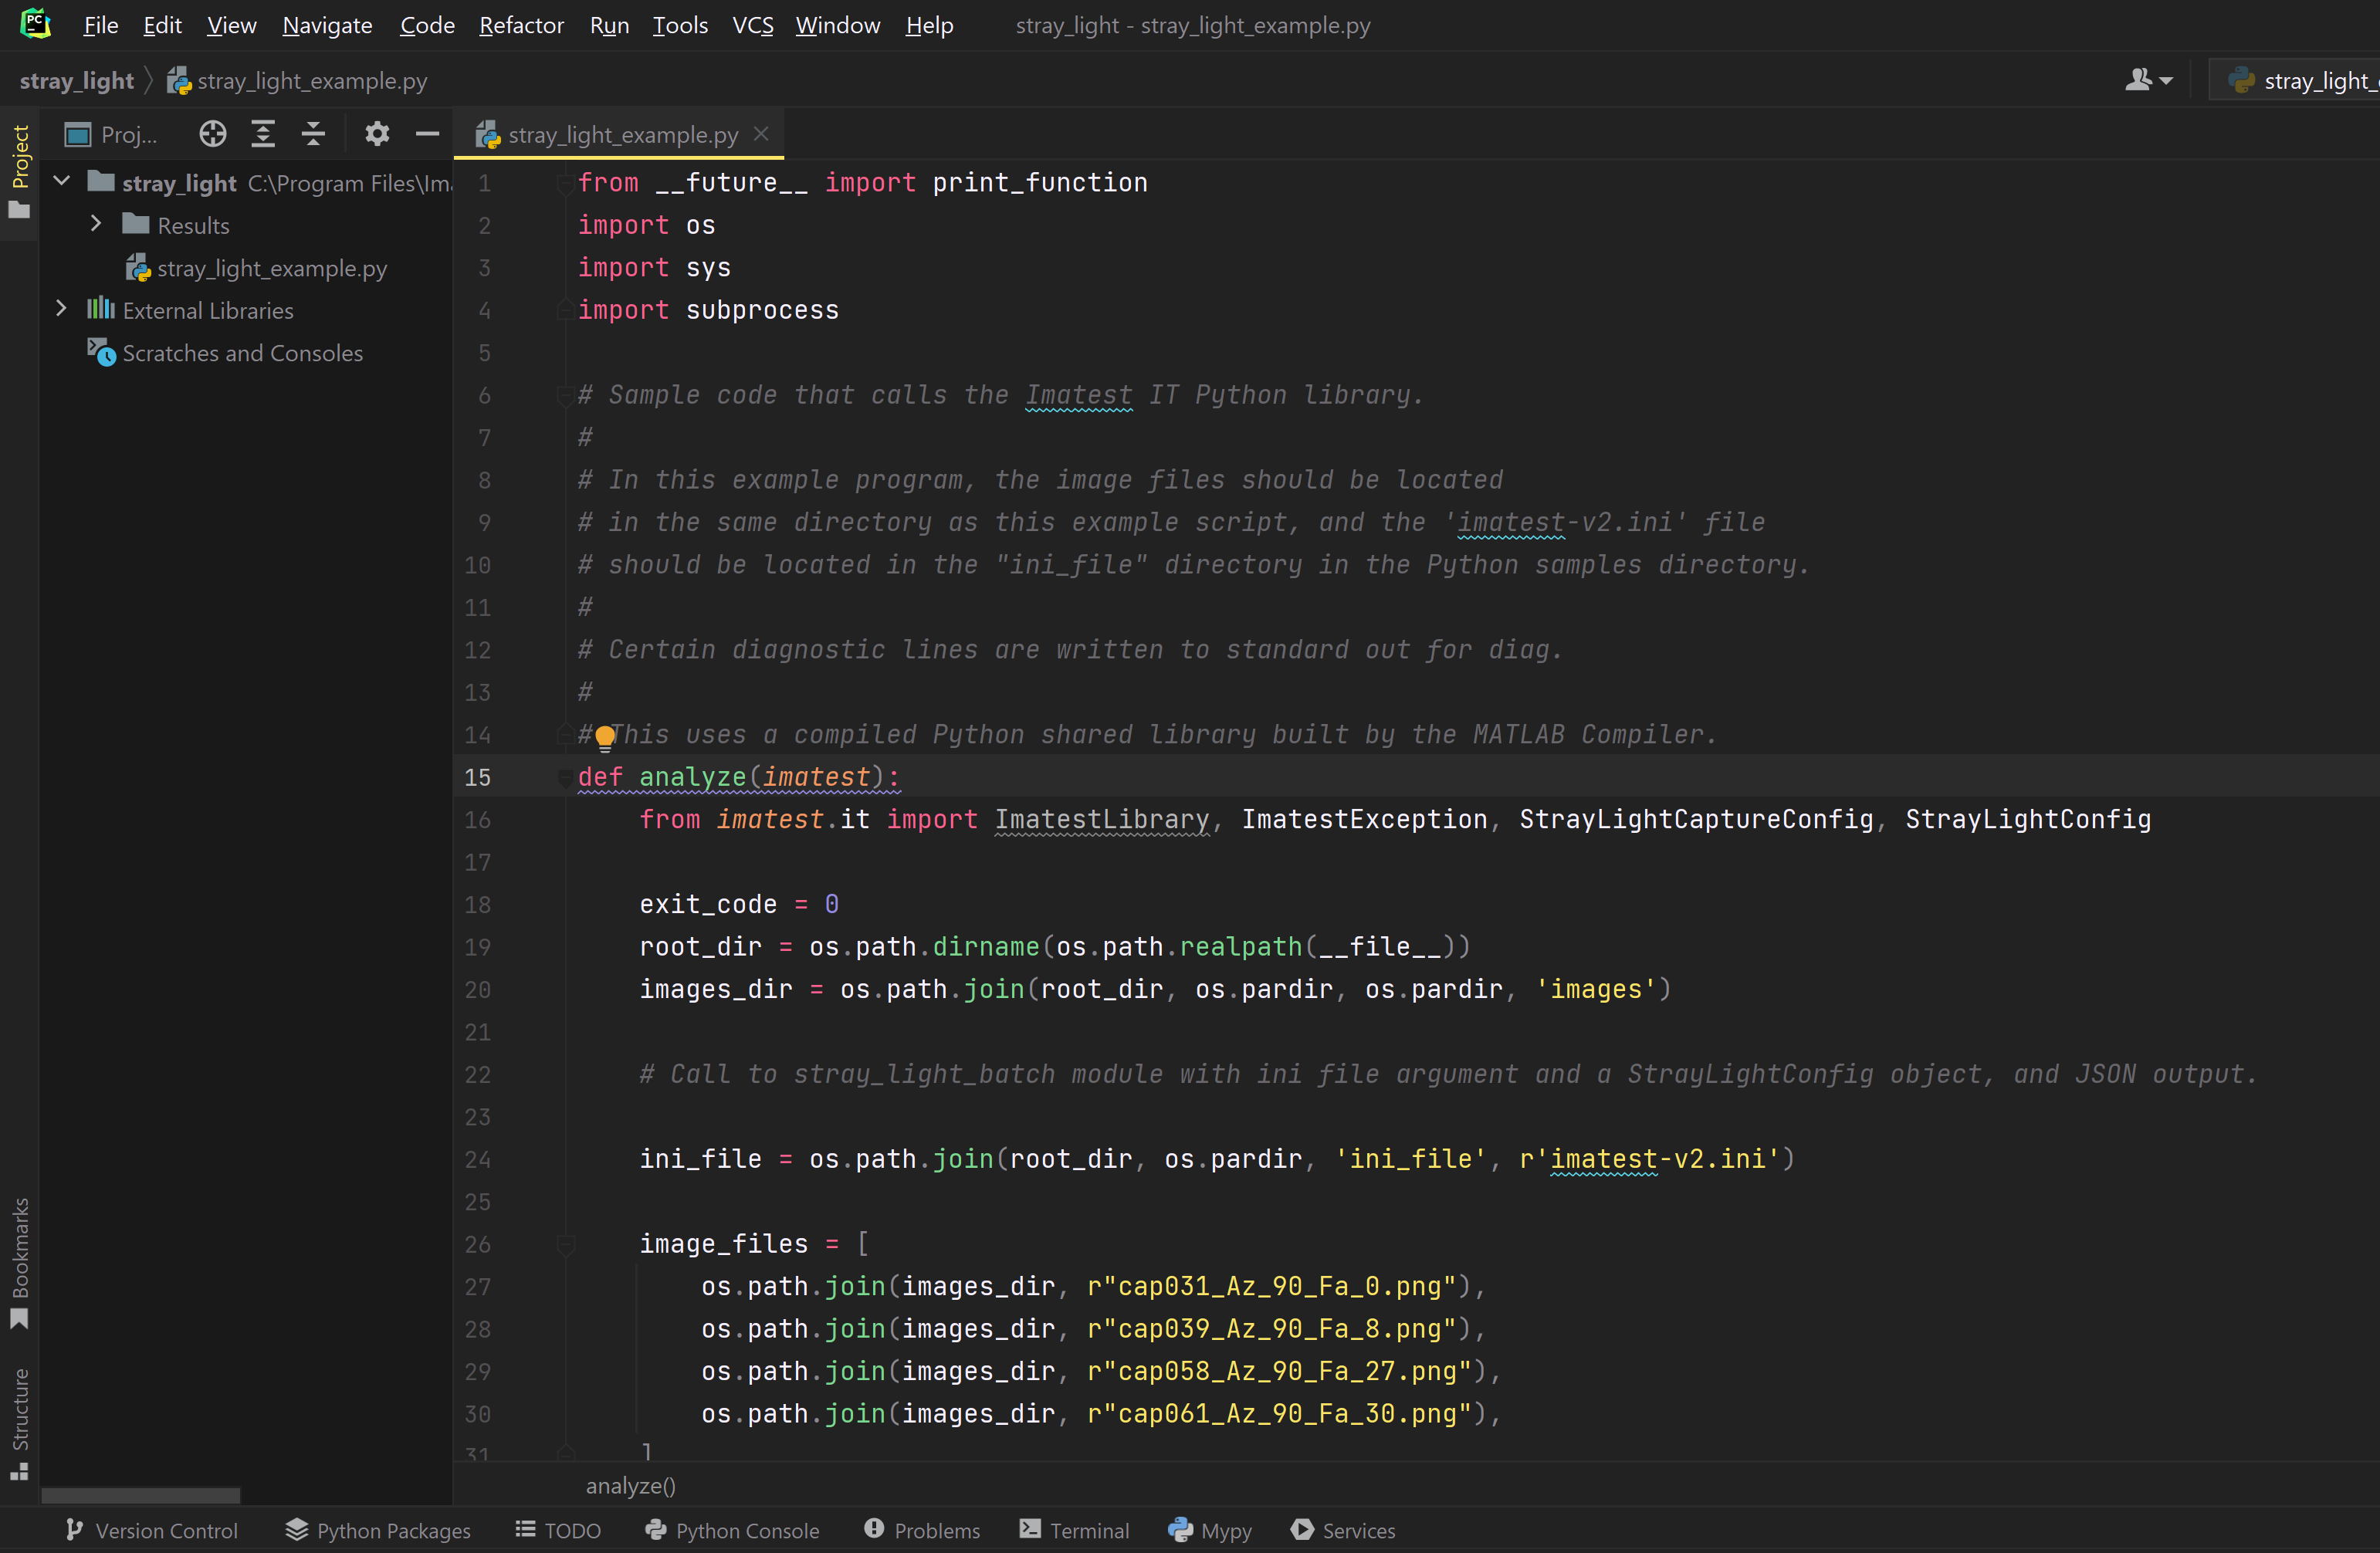
Sample code for stray light analysis and generation of a StrayLightConfig object can be found in the Imatest IT install “samples\…\stray_light” directory. For example, located in “C:\Program Files\Imatest\v22.2\IT\samples\python\stray_light”.
Screenshot of the stray light Python sample found in the Imatest IT install directory (“stray_light_example.py”). Users of Imatest IT can perform stray light analysis programmatically. This sample program demonstrates stray light analysis using an INI file and a StrayLightConfig object as input. Here, the program is opened in the PyCharm IDE.
-
A separate Python sample script that demonstrates control of the Imatest Motorized Gimbal for capturing stray light images, programmatic generation of a config file, and optional stray light analysis can be found in the Imatest IT install “samples\hardware” directory. For example, located in “C:\Program Files\Imatest\v22.2\IT\samples\python\hardware\motorized_gimbal”
-
This same hardware sample code can be found on Imatest’s “hardware-samples” Github repository
-
See the Stray Light Configuration File page for information on the config file, including the required JSON schema and formatting.
-
-
-
Examine the resulting figures and output files
-
See the Stray Light Outputs page for information on the various outputs
-